How to install NordVPN
A detailed guided how people in Arabic speaking countries can install VPN and access all the exciting sites around the world. With a VPN installed you will be able to access some of the most well-known gambling sites.![]()
NordVPN is one of the most popular VPNs in the Arabic speaking countries such as United Arab Emirates and Dubai. It’s reliable, easy to use and full of features!
In this article we will help you with setting up your VPN connection with NordVPN automatically using OpenVPN and manually using the NordVPN application. This installation guide is for Windows 7, Windows 8 and Windows 10.
We’ve included a video tutorial if you’d like to see how it’s done below the step by step instructions to download NordVPN and install NordVPN on your computer.
Download NordVPN – Step by Step
Step 1.
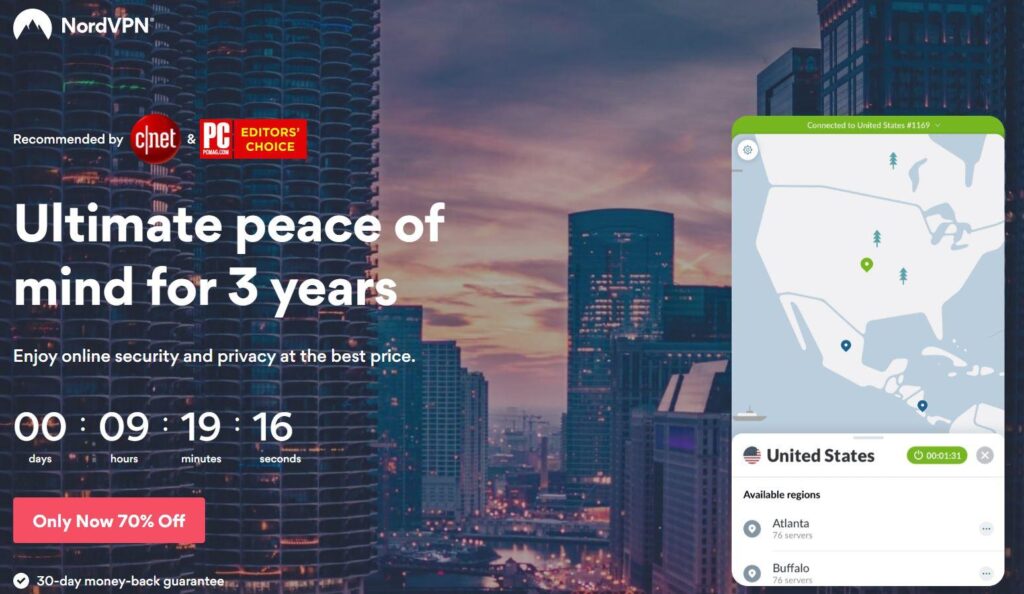
Get your 70% special offer by accessing and download NordVPN.
Step 2.
Open the Downloads folder on your computer and click on the NordVPNSetup.exe application file.

Step 3.
A window might pop up asking you if you’d like to allow the NordVPN app to make changes or device. If this window pops up, click on Yes.
Step 4.
Once the application installer is open, click on Install to continue with the installation.
Step 5.
At this step, please allow the application installer to continue with the installation.
Step 6.
After the installation wizard is done, the NordVPN application will open in a new window. To make things easier, the NordVPN shortcut icon will be added to your desktop.
Set up NordVPN – Step by Step
Below is an easy step by step guide on how to set up the NordVPN download application.
Step 1.
Open the NordVPN application. When the VPN application has opened, enter your login credentials and click on Sign In.
Step 2.
Now you’ll see the NordVPN dashboard page.
In the top left corner you can navigate between Servers and Settings.
To the left you’ll see the list of servers.
To the right you will have the visual map of available connections.
At the bottom, you will find the Quick Connect button. This feature will automatically connect you to the recommended server that’s available.
Step 3.
If you’d like to connect to a specific country, you can do so by clicking on the country displayed in the map.
Step 4.
When you’re connected, the blue pin on the country will turn green.
The Quick Connect button will now display a text that says you’re connected. The button will also display the new IP addresss that you have been allocated.
Step 5.
You can also use the search field in the top left corner to connect to a specific server.
Enter the name of a country, a category or a specific server number to find available servers.
Step 6.
When you are connected to NordVPN and close the VPN dashboard, you can reopen the application in the System tray area in the bottom right corner of your screen.
Step 7.
If the icon is not in visible in the System tray area, click on the arrow pointing up to see additional running applications.
Step 8.
When you right-click on the NordVPN system icon, a small window will appear with some basic controls; Quick Connect, Disconnect, Reconnect, Open or Quit the application.
Managing NordVPN server connection – Step by Step
Step 1
On the left side of the screen, the different available servers are displayed, separated into countries and specialty servers.
You can select Specialty servers and expand the Double VPN category by clicking on the three dots next to the label, and select the Canada – US Double VPN server.
Each server has a percentage next to the label, it indicates the current load of the server. The more users connecting to the server, the higher the percentage will be.
Step 2.
To connect to a server, simply click on it.
Step 3.
You can also add a server to your list of favourites by clicking on the heart symbol next to the label in the list.
Step 4.
Your favourite servers will appear in its own special category, called My Favourites.
NordVPN Setting
In the Settings tab, you can make changes to the application as you wish.
- CyberSec – Enable this setting to use our CyberSec feature while connected to the VPN. It will protect you from intrusive ads, malware sites, phishing links, and other threats.
- Auto connect – Enable this to connect to a server automatically when the application starts. Disabled by default.
- Start NordVPN on startup – Enable this to start NordVPN when you start your computer. Enabled by default.
- Internet Kill Switch – Enable this to have an internet connection only when connected to NordVPN. Disabled by default.
- Invisibility on LAN – Enable this to make your computer invisible to others on the same local area network (LAN). Keep in mind that once this feature is enabled, you will not be able to access such devices as printers connected on your local area network. Disabled by default.
- App Kill Switch – Enable this to terminate any applications you specify in the case of an unintended disconnection. Disabled by default. For example, you are on a public network and using NordVPN to protect your confidential Skype conversation. You can add Skype to the Kill Switch list. If your WiFi network is unstable, the connection may drop unexpectedly. In such a case, Windows will reconnect to WiFi, but the VPN connection will not resume yet. The Kill Switch will close down Skype before it can transmit any of your sensitive info on the public network, thus ensuring your privacy.
- Notifications – Enable this to receive Windows notifications each time you connect or disconnect from a server. Enabled by default.
- Start minimized – Enable this to display the NordVPN icon in the Windows system tray when the computer starts. This is where Windows displays applications that are running in the background. Enabled by default.
On the left sidebar, you can also access your account details. The Logout button is also at the bottom.
Advanced NordVPN Settings
- Protocol – UDP is mainly used for online streaming and downloading. TCP is more reliable but a little slower than UDP and usually used for web browsing. UDP by default.
- Custom DNS – Set DNS servers of your choice for the NordVPN application to use.
- Obfuscated Servers – Enable this to bypass the network restrictions such as network firewalls. This is also a recommended option for countries with restricted network access.
- Diagnostics – In case of any technical issues, you should collect the app diagnostic data and provide the ticket ID to our support for further assistance. If it fails to provide the diagnostics ticket ID, you can send the .zip file to our support.
NordVPN Download video tutorial
Below is the official NordVPN installation guide. If you have further questions as to how to install NordVPN, please contact us here.